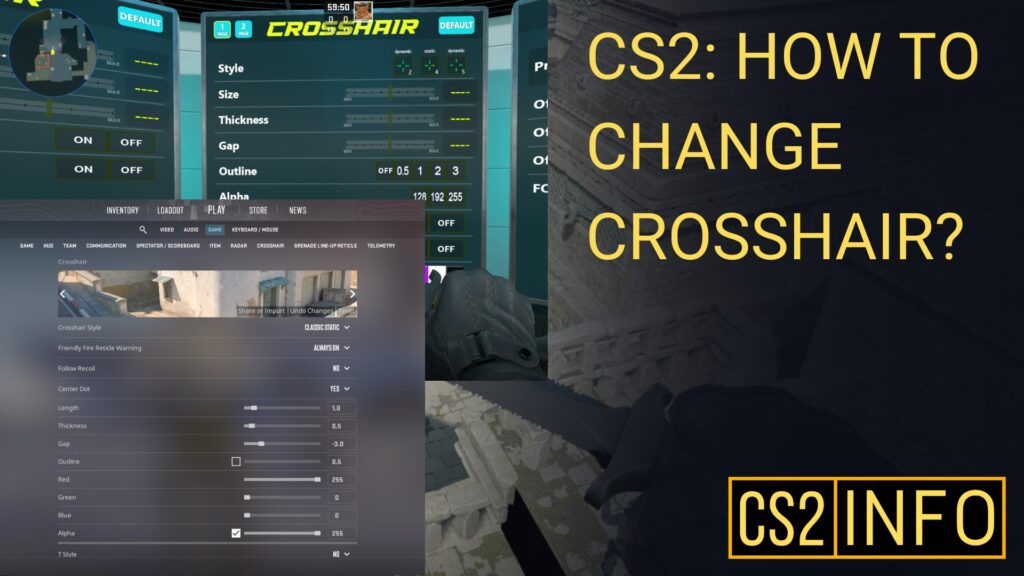
Customizing your crosshair is one of the most important aspects of improving your aim and overall gameplay experience in Counter-Strike 2 (CS2). A well-adjusted crosshair can make a significant difference, whether you prefer a minimalistic style or something more eye-catching. In this guide, we’ll show you how to change your crosshair using three different methods: through in-game settings, by copying another player’s crosshair, and by using a config generator or workshop map.
Method 1: Change Crosshair in Settings
The easiest and most accessible way to change your crosshair in CS2 is through the in-game settings.
Step 1: Open Settings
- Launch CS2.
- Click the Settings icon (gear icon) in the top right corner of the screen.
- Go to the Game tab.
Step 2: Open the Crosshair Section
- Click on the Crosshair section from the options on the left side.
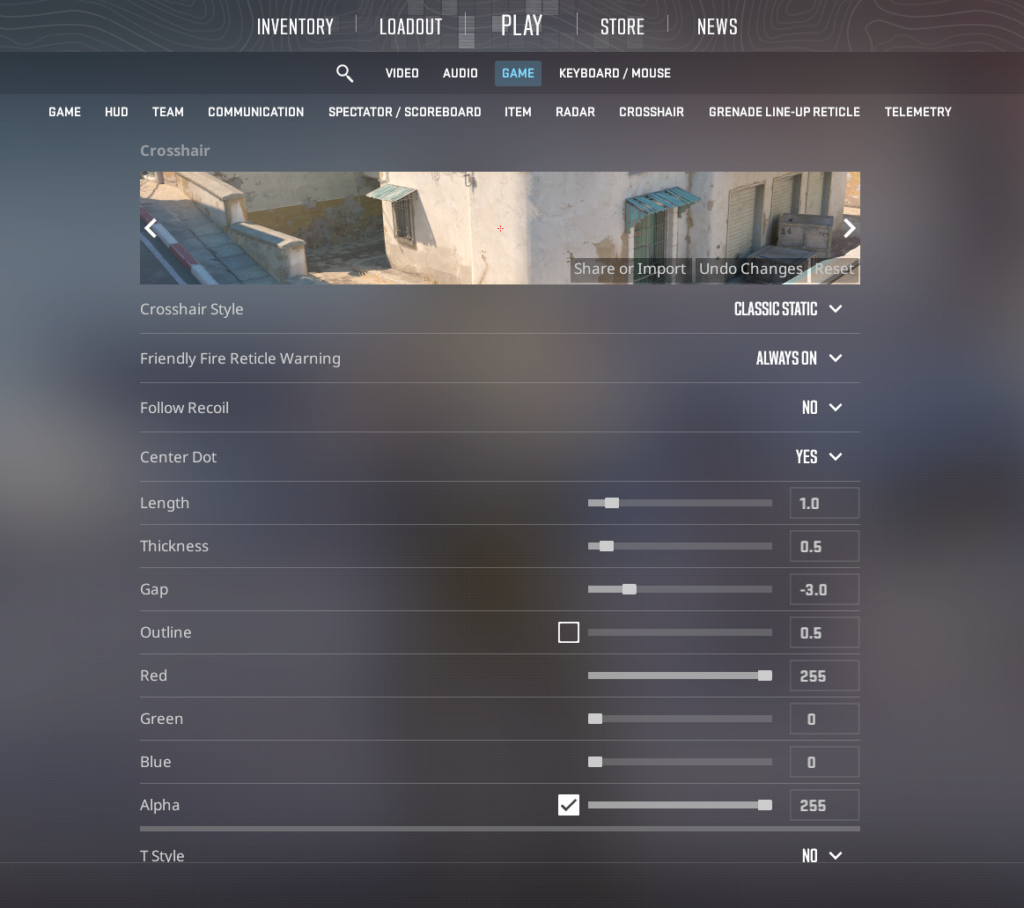
Step 3: Customize Your Crosshair
Here you will find various customization options:
- Crosshair Style: Choose between static, dynamic, or classic crosshairs.
- Size: Adjust the size of the crosshair.
- Thickness: Change how thick or thin the crosshair lines are.
- Color: Select from different colors to make your crosshair stand out or blend in.
- Outline: Enable or disable an outline for better visibility.
Step 4: Save and Test
Once you’re satisfied with the changes, save them, and jump into a game to test how the new crosshair feels.
Method 2: Copy Other Players’ Crosshair
You can copy another player’s crosshair settings while watching them play, either in a live game or through a demo. This method allows you to quickly replicate a crosshair that you like.
Step 1: Open the Console
Make sure you have the Developer Console enabled. If not, go to Settings > Game and set Enable Developer Console (~) to “Yes.” Press the ~ key to open the console.
Step 2: Use the Console Command
While spectating a player, you can use the following command to copy their crosshair:
cl_crosshair_recoil 1
This command will apply the crosshair settings of the player you’re watching, including color, size, and style.
Method 3: Use a Config Generator Workshop Map
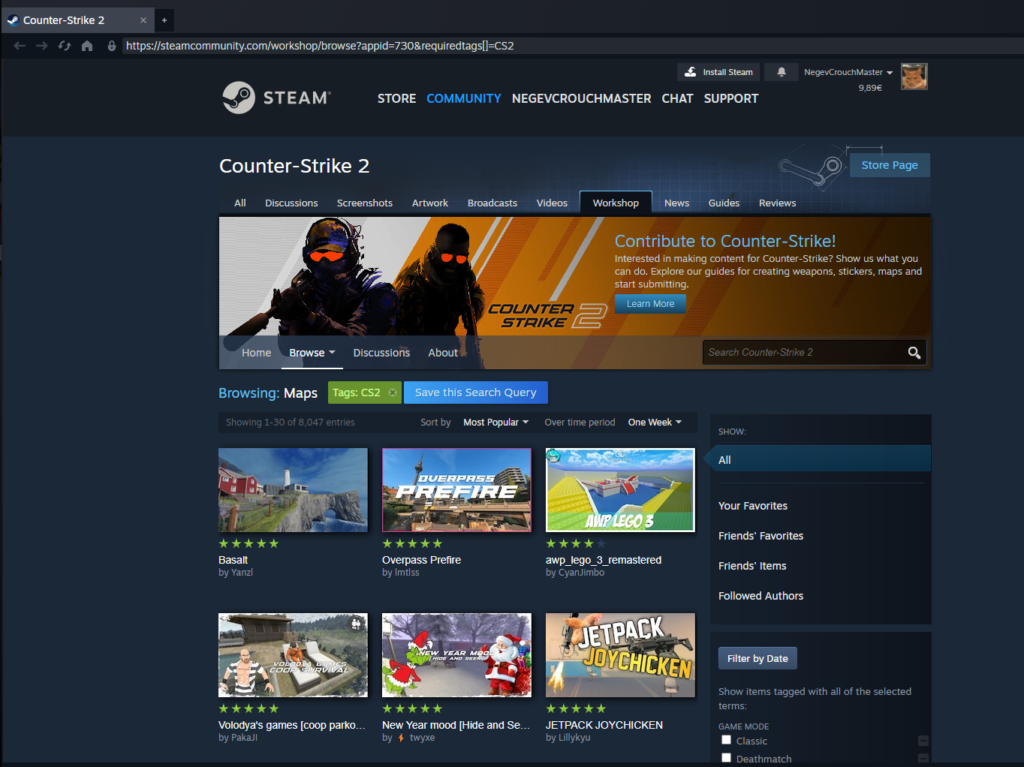
There are also community-generated workshop maps specifically designed to help you customize your crosshair more precisely.
Workshop Map
You can also use special crosshair workshop maps available in the Steam Workshop. These maps allow you to interactively test and customize different crosshairs.
Step 1: Search for a Crosshair Map
- Open the Steam Client.
- Go to the CS2 Workshop.
- Search for a crosshair customization map like “Config Generator.”
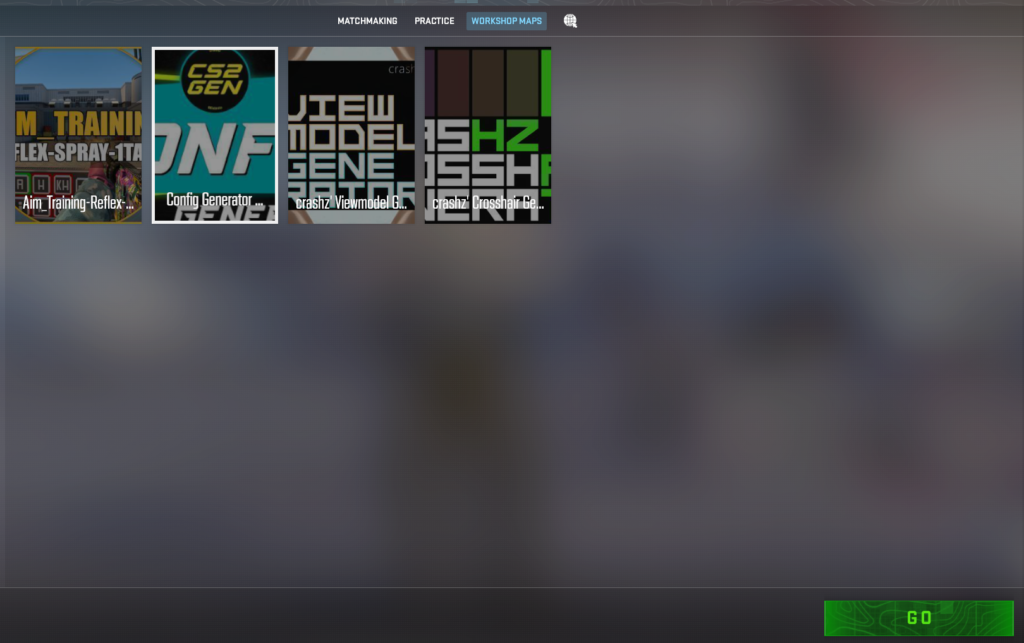
Step 2: Subscribe and Launch the Map
- Subscribe to the map to download it.
- Launch CS2 and find the map under Play > Workshop.
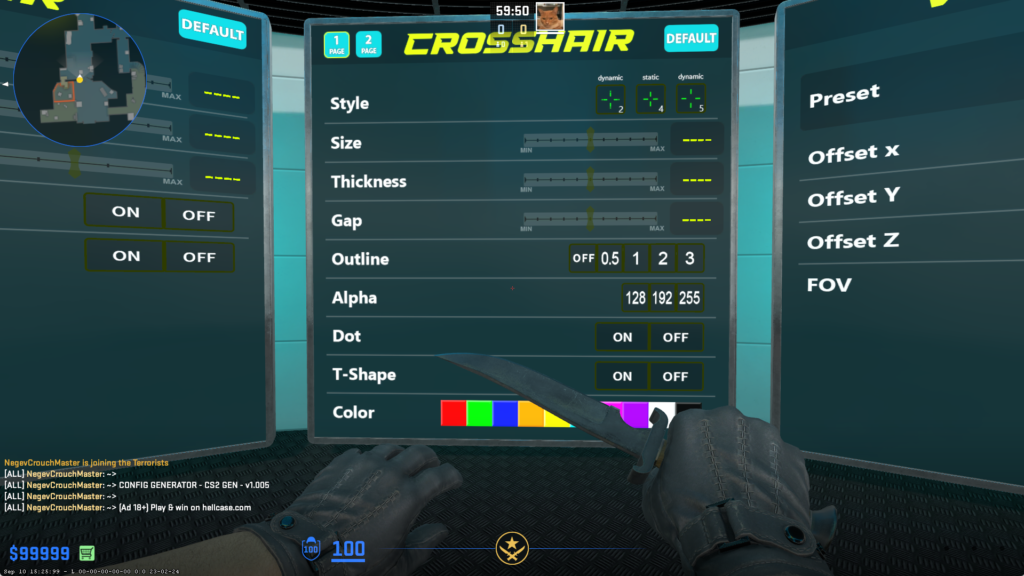
- Load into the map and follow the on-screen instructions to customize and choose your crosshair in real time.
Step 3: Save Your Crosshair
Once you’ve found the perfect crosshair, the map will provide you with commands to save the settings. Shoot the right buttons on the map to save after configuring your new crosshair!
Final Thoughts
Customizing your crosshair in CS2 can enhance both your gameplay experience and performance. Whether you choose to adjust it via in-game settings, copy a crosshair from another player, or use a config generator or workshop map, having a crosshair that suits your playstyle will help you aim better and improve your accuracy.
